As an aesthetic or skin practitioner, we know that having photos of your patients pre and post-treatment is a really important part of your record-keeping.
Before and after photos are useful for many reasons;
-
When your patient returns for a review or further treatment, it’s great to have a photo of their “starting point”, as well as subsequent post-treatment images showing their progress.
-
Sometimes, we find that patients start to really “inspect” their faces after a treatment, highlighting a line or mark that “wasn’t there before”. If you have clear and accurate photos of their face pre-treatment, you are able to respond to any query or complaint that may come up.
-
Your best before and after photos can be used in your marketing, as long as you have permission from the patient to share them.
However, you’ve probably found that taking really good photos can be a challenge.
Small differences in lighting, distance from the camera and even the angle of the face can really impact the overall quality of your images. When comparing your before and after photos side by side, you may find that they really don’t give an accurate representation of the treatment results at all. It can be incredibly frustrating and disheartening for a practitioner when your patient has already left the clinic to find that their “after” photo is blurred, or there’s a shadow across the face, or the angle is completely different to the “before” image.
This is why it’s important to develop a standardised system of how you take your patient photos. It may sound time-consuming, but once you’ve done it, you’ll find the entire process much smoother and the quality of your photos will improve significantly.
There are a number of things to think about when developing this system.
Camera
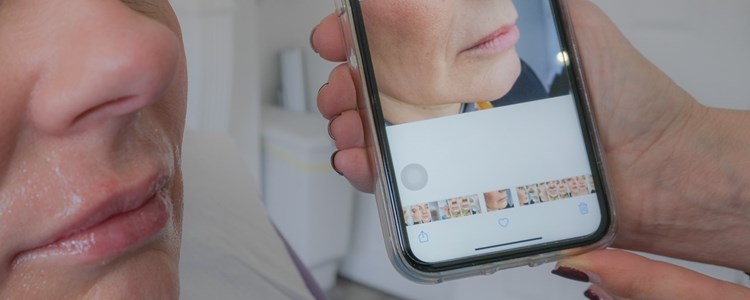
Whether you’re using your phone, a tablet or a proper camera, ensure that you use the same camera settings for every photo. Switching between Auto mode and Portrait mode, for example, may result in variations between colour and contrast, so it’s vital that you check which settings work best for you and then stick to them.
Many phone cameras now come equipped with a “vanity” setting which can filter or airbrush the skin, so ensure that this setting is not in use or you risk presenting inaccurate results.
Lighting
Generally speaking, natural lighting is best for photos, but here in the UK, where the weather is so changeable, it’s not really ideal to rely on the light from a window as it can literally change between shots.
Instead, many practitioners use an artificial light source, such as a ring light. There are many of these available on the market and they vary in size and price, so choose one that works for you. These lights also often have different settings, such as “natural light”, “warm light” etc, so again, ensure that you stick with the same setting for each photo.
Angles and expressions
Depending on the treatment, you may need to take photos from several angles (for example, you may want a front-facing shot as well as photos of the patient’s side profile) or ask your patient to make different facial expressions (for example, for a Botox treatment to the forehead, you’ll probably want to show the face relaxed, with raised eyebrows and frowning to show how muscle movement is affected by the treatment).
Make sure you know before you start exactly what you need to photograph. On a busy clinic day, when your patient is ready to leave and you’ve got another patient waiting, it can be easy to forget about a particular angle or expression. It may be worth adding checkboxes for each photo to your paperwork so you know that you’ve photographed everything that you needed to.
Other things to consider when taking patient photos;
-
Background. A plain, neutral-coloured background is optimal. If you don’t have a plain wall that patients can stand in front of, a large sheet of plain paper stuck to the wall, or even a pull-down screen, can be a great alternative.
-
Distance. As with angles, it’s important to maintain the same distance between yourself and your subject, or your before and after shots may be inconsistent.
-
Storage. In addition to developing a system for taking your photos, you should also ensure that you have a proper system for storing them and keeping them secure. As with the rest of your patient’s paperwork, their photos are CONFIDENTIAL (unless the patient has given express permission for them to be shared).
-
Video. While video is by no means a requirement for patient records, you may find it useful for certain treatments, as a video can clearly demonstrate muscle movement for example. If you choose to use video, you should apply all of the same considerations regarding lighting, settings, angles etc, as you would to a photo.
In conclusion, while patient photography is not quite as straightforward as you may expect, it is possible to take excellent before and after images, as long as you put in some thought and planning beforehand.
At Facethetics Training, we provide an extensive Clinical Photography document on our Foundation Botulinum Toxin and Foundation Dermal Fillers courses, which includes more advice and tips to help you ensure that your photos are the best they can be.